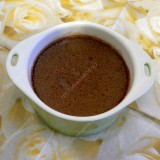
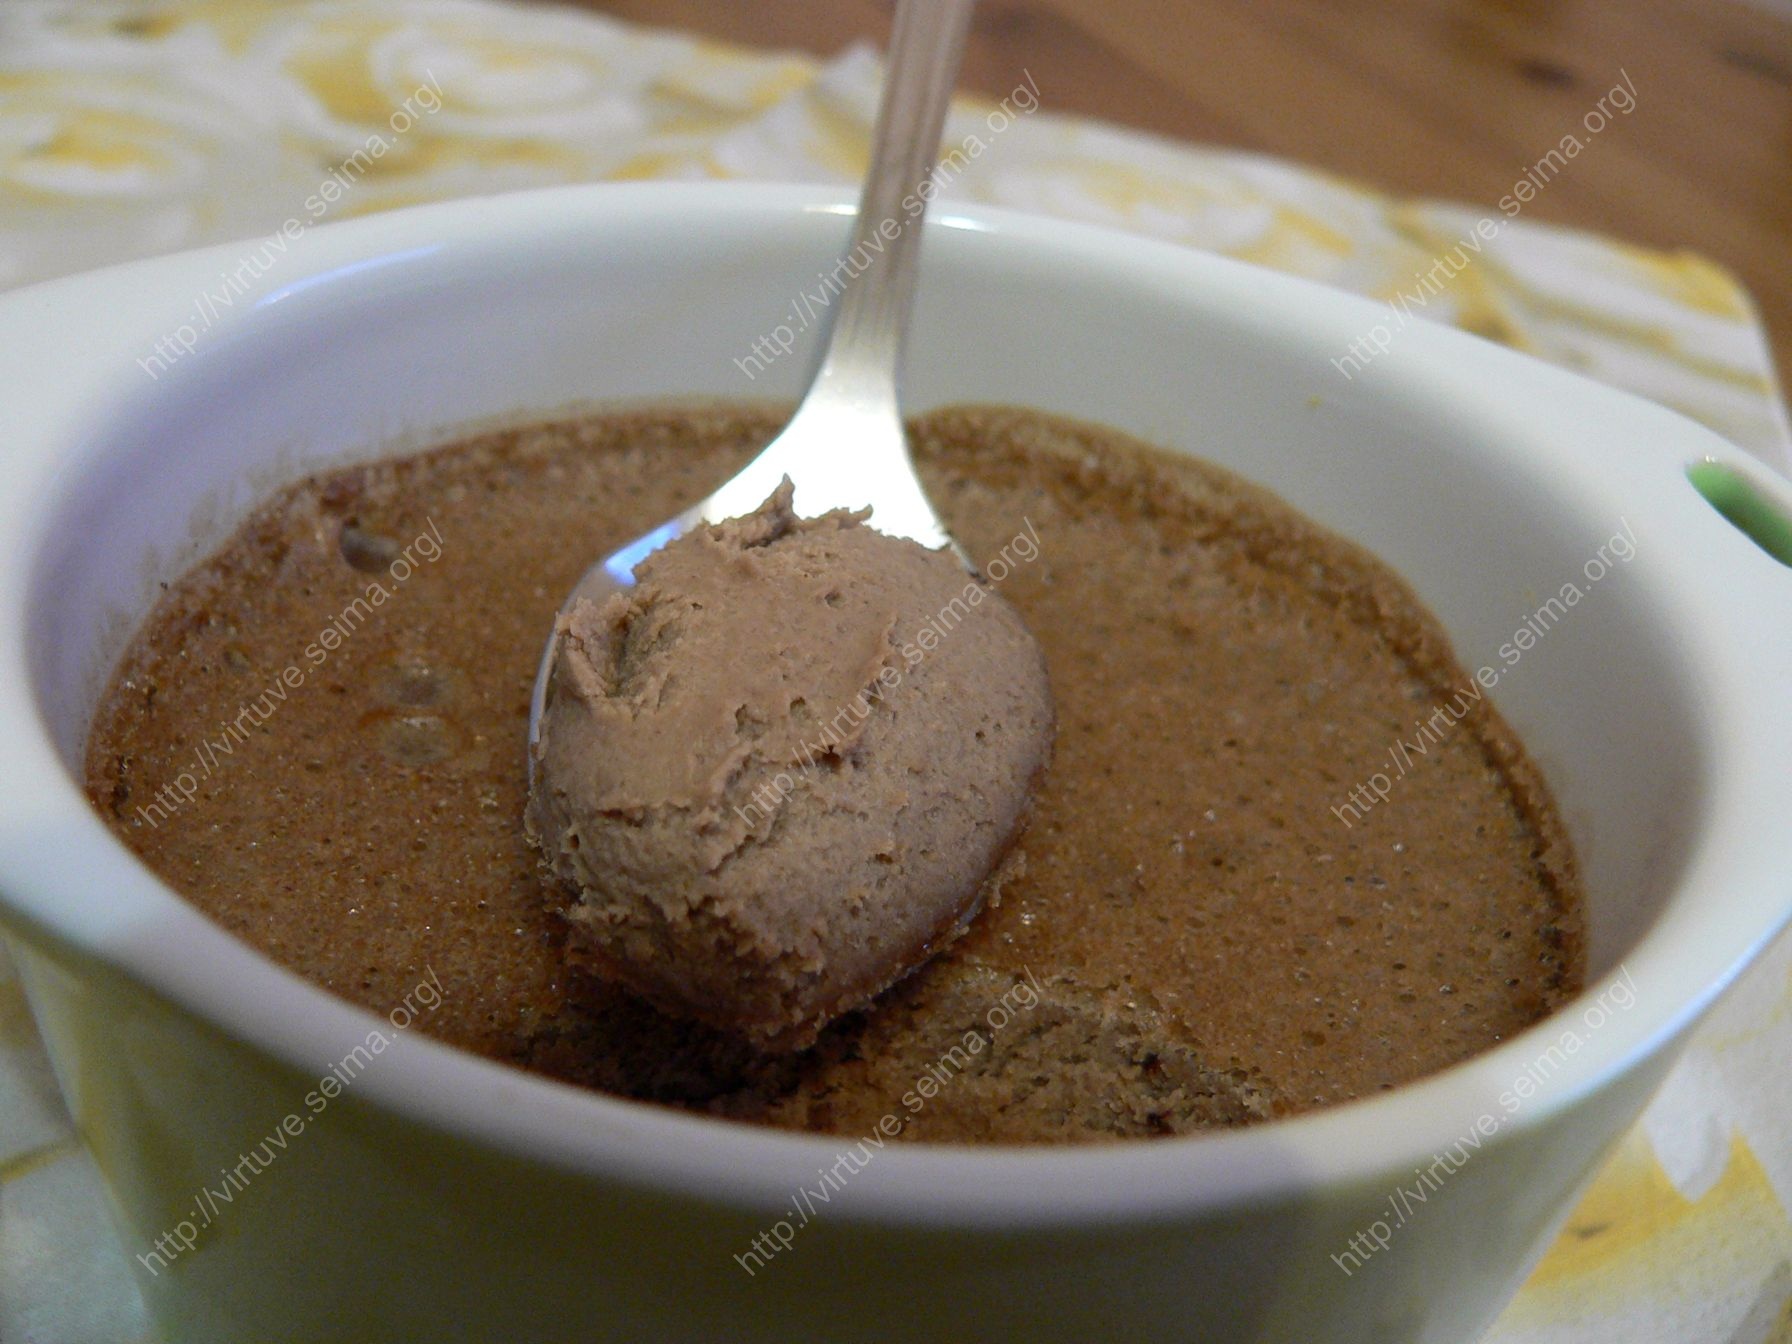
Chocolate Mascarpone Cheesecake Pots

- Details
- Leave a Comment
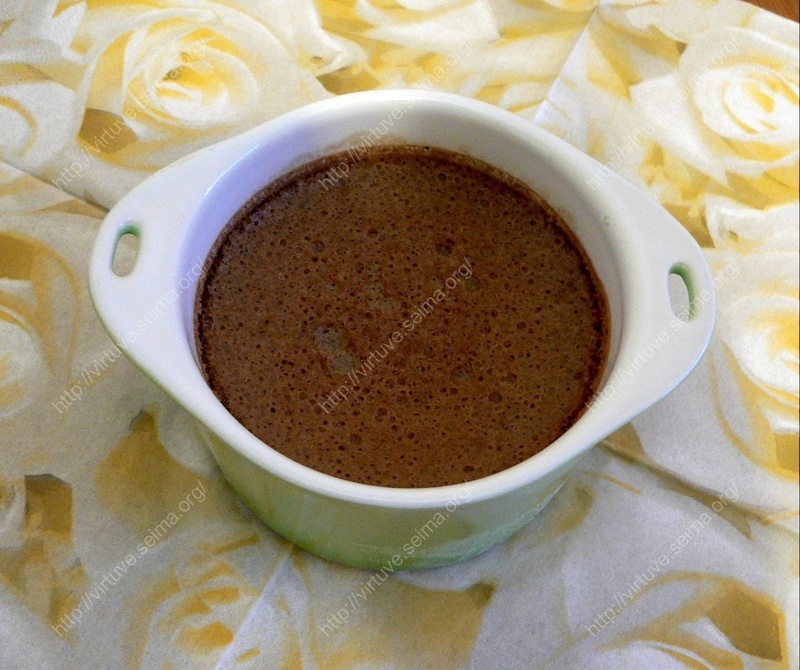
From the look, dessert is very simple. But when you taste it, you understand that the taste is more different than the view – taste is adorable. Everyone in my family couldn’t stop after one bite. I divided dough to four ramekins because the portions were very small, but I did mistake. I really should divide it to 8 cups because this cream is very satisfying.
Chocolate Mascarpone Cheesecake Pots
Time needed:
Yields: 8 servings
Calories: 223 kcal / serving
Ingredients:
1 cup = 237 ml
- 1 cup heavy cream
- 100 g dark chocolate, finely chopped
- 225 g Mascarpone cheese
- ¼ cup sugar
- 1 tsp. vanilla
- pinch salt
- 1 tbsp. all-purpose flour
- 3 large eggs
Directions:
- Position rack in the middle of the oven and preheat to 160°C.
- In a saucepan, bring cream to a simmer over medium heat.
- Remove the pan from heat before the cream starts to boil and add the chocolate, stirring constantly until mixture is smooth. Set aside and let cool to room temperature.
- In a large bowl, whisk together the mascarpone and sugar until smooth.
- Add eggs one at a time, whisking well after each addition until smooth.
- Add flour, salt, vanilla and mix until incorporated.
- Pour the cooled chocolate mixture into the mascarpone cheese mixture and whisk gently until smooth.
- Put eight custard cups, ramekins, or small oven proof coffee cups in empty baking pan. Divide the chocolate-cheesecake mixture among the cups.
- Put the baking dish in the oven and then carefully pour boiling water into the pan. Adding just enough water to reach halfway up the sides of the custard cups. Cover with aluminum foil. Bake until the tops of the cheesecakes appear solid but jiggle slightly when shaken, 30-40 minutes.
- These will firm up as they cool to room temperature.
- Cover each pot with plastic wrap and refrigerate for at least 4 hours, preferably overnight.
- These can be made up to 2 days in advance.
- Enjoy!
Source: Culinary Concoctions by PeaBody
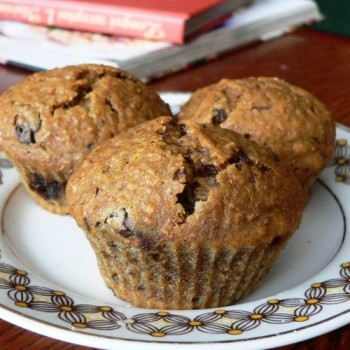
Pumpkin Chocolate Chip Muffins
These muffins are really good, because they are very moist, not very sweet and of course – they are with chocolate! My kids just love them and at one time ate almost everything (my hubby helped them a little bit 🙂 ). So we agreed that we will repeat very soon.
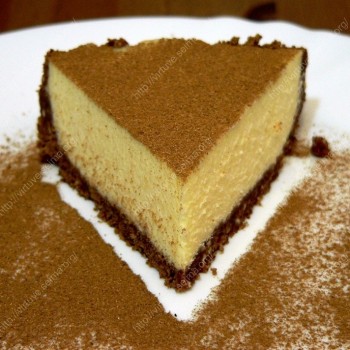
Cheesecake
This year we met at home only with kids. So the preparation for the evening wasn’t much. This cake in all recipe sources got a lot of compliments. I agree with them – it’s really good and simple. I used 26cm cake form. And I really suggest you to warm the mascarpone and condensed milk mixture, because if you won’t do it you’ll get lumps when you pour gelatine (Then I had to put the mixture in a warm bath and wait till mixture warms and lumps dissolve).
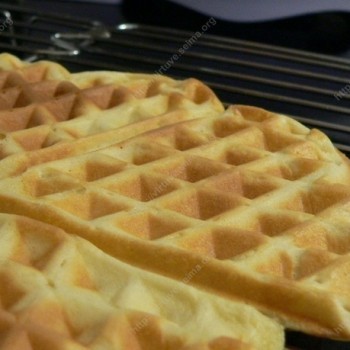
Cream waffles
When I found this recipe I was so exited that baked them a few weekends for breakfast. Cream makes them frangible and even when they are cold they stay very tasty. I bake half of the portion but it’s enough for two kids and two parents for the light breakfast. I really recommend you!
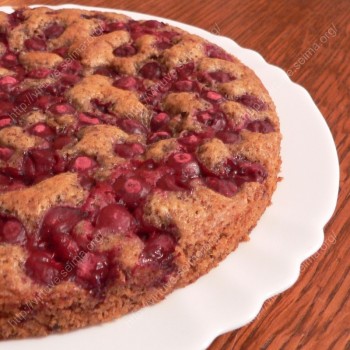
Cherry cake with chocolate
I bookmarked this recipe long ago. And this week everyday after work I thought to bake it, but… This weekend I said “now or never” and I’m happy to say that it was “now”. I baked it from half portion and made a mistake. When my hubby tasted it he said “I my God, you’ll have to bake it again”. The little one was crying near the empty plate pleasing for more 🙁 Good to know that I still have some cherries in the freezer, so they won’t have to wait very long 🙂
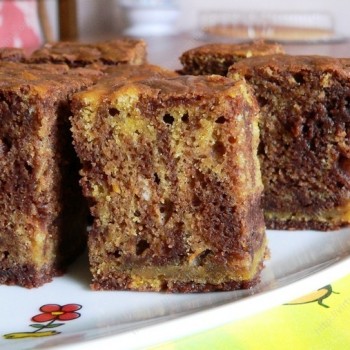
Swirl Pumpkin Brownies
Yes, I still have pumpkin puree 🙂 And this time it’s not so healthy but very chocolate brownie. It’s really easy, just I baked 10 minutes more. The next time, I will bake only 5 minutes more. And also, when I baked it second time I used less sugar, and my big girl tasted that. My hubby also agreed that brownie second time was not so good as the first time. So the third time I won’t change anything – these proportions are really perfect!